Working With Images

Contents
To use images on pages in The Wiki, you have two options. It is possible to link to them from sites like photobucket or your own website but you need to remember not to move or delete those pictures. It is safer to upload them directly to The Wiki although there are limitations on type and size. External sites give you the opportunity to add animations, larger pictures or other file types. Both methods give you the opportunity to create clickable pictures, mix them with text and othe images but the coding is more complex using images from external sites.
This picture has been uploaded to The Wiki 
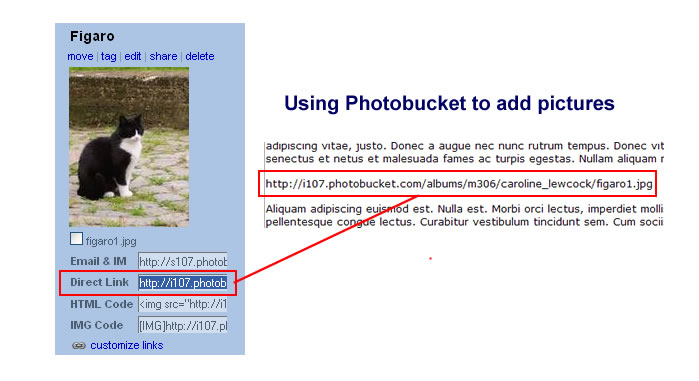
This picture has been uploaded to Photobucket 
This page deals with using single images. If you wish to know more about using them in other ways, please consult:
Uploading pictures to The Wiki
You can only upload .jpg (.JPEG) files and they cannot be larger then 150kb.
Step by Step instructions can be found on Uploading images to The Wiki
Code for images
One single image
name | alignment | size | thumb or frame | caption
1. You can just put in the image
It will come out full size and aligned to the left with no border or caption: [[image:NAME OF IMAGE.jpg]]
ACTUAL CODE: [[image:Building3.jpg]]
GIVES:
2. You can choose horizontal alignment - right, left or center
[[image:NAME OF IMAGE.jpg|alignment]]
ACTUAL CODE: [[image:Building3.jpg|center]]
GIVES:
3. You can choose the size
[[image:NAME OF IMAGE.jpg|size]]
ACTUAL CODE: [[Building3.jpg|50px]]
GIVES:
4. To get a frame round your picture
[[image:NAME OF IMAGE.jpg|alignment|size|thumb]]
ACTUAL CODE: [[image:Building3.jpg|left|200px|thumb]]
GIVES:
5. To get a frame and have a caption for the picture
[[image:NAME OF IMAGE.jpg|alignment|size|thumb|caption]]
ACTUAL CODE: [[image:Building3.jpg|left|150px|thumb|Work in progress]]
GIVES:
6. Using frame instead of thumb
[[image:NAME OF IMAGE.jpg|alignment|size|frame|caption]]
ACTUAL CODE: [[image:Building3.jpg|left|100px|frame|Work in progress]]
GIVES:
WARNING: As soon as you add frame or thumb, combining pictures and text can give very unpredictable results.
It is easier to take control over the layout of page by using extra code such as in a TABLE or GALLERY.
Adding images from Photobucket or other websites
If you want to have a picture in a particular place, you need to add code.
Aligning single pictures
Left Aligned

<div align="left">http://i107.photobucket.com/albums/m306/caroline_lewcock/a0eb401.gif </div>
Centred

<div align="center">http://i107.photobucket.com/albums/m306/caroline_lewcock/a0eb401.gif </div>
Right Aligned

<div align="right">http://i107.photobucket.com/albums/m306/caroline_lewcock/a0eb401.gif </div>
Putting pictures in a row
xxxxxxxxxxxxxxxxxxxxxxxxxx


